(Related documents: Egg rocket technical analysis, Launch day)
A few days before Easter, I was day dreaming about an unusual Easter egg project could I do with the kids. I considered an over the top Easter egg diorama, but that was too static. Then I thought about Easter egg robots, which I would like to try, but I did not have any electronic part around the house. Then it dawned on me - Easter egg rockets! Would they blast to pieces upon ignition? Would they fly around unpredictably? Only one way to find out. This is my story.

A fine Easter egg rocket
How to make an Easter egg rocket
You will need the following materials (mostly standard model rocket stuff):
- One or more raw grade A eggs (any size will probably work - I used large)
- One 1/4A or 1/2A engine per egg
- One fuse per engine
- Model rocket recovery wadding (a.k.a. fireproof toilet paper)
- A model rocket igniter
- Card stock for fins (balsa wood would work too)
- Construction paper for the fin template
- A Pringles-style potato chip can
- A pencil
- Tweezers
- A modeling knife and/or scissors
- Carpenter's glue
Step 1: Blow out the eggs. Pierce a small hole in the top and bottom of each egg with something long, thin and sharp. Stir around inside the egg in order to burst the yolk. Blow into one hole so that all the contents of the egg are forced out the other hole. Boil the empty eggs for a few minutes and let them dry.
Step 2: Expand the bottom hole just enough to fit in your rocket engine.
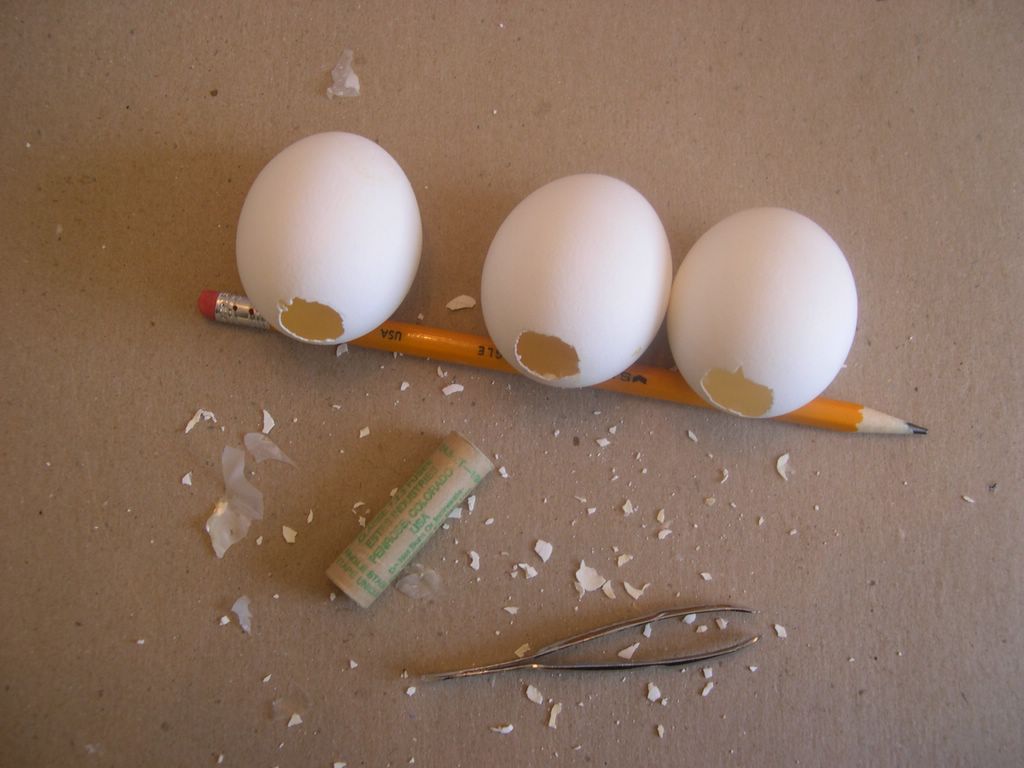
Three eggs with holes just large enough to fit a 1/4A or 1/2A model rocket engine. Tweezers seem to work well for expanding the hole.
Step 3: Make a fin template out of construction paper. Be certain to test the curve against your eggs and adjust or redo until the curve is right. Then use this template to cut out four fins per egg.
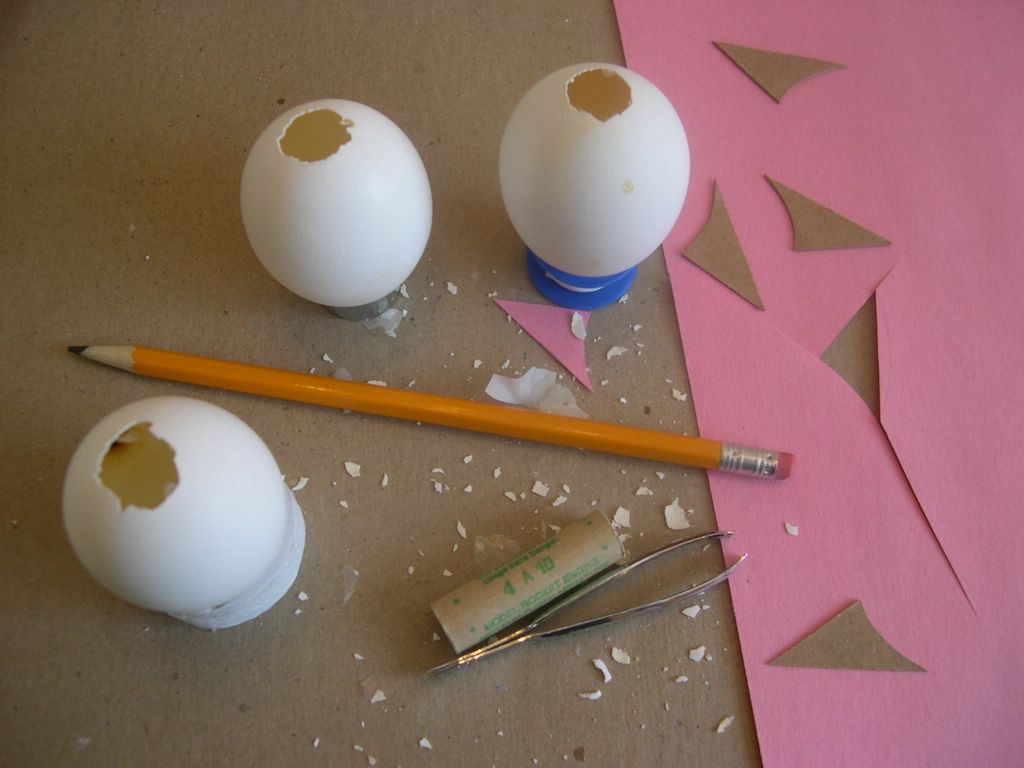
Use construction paper as a template for the card stock fins. You might have to try a couple of times before you get the curvature of the egg just right.
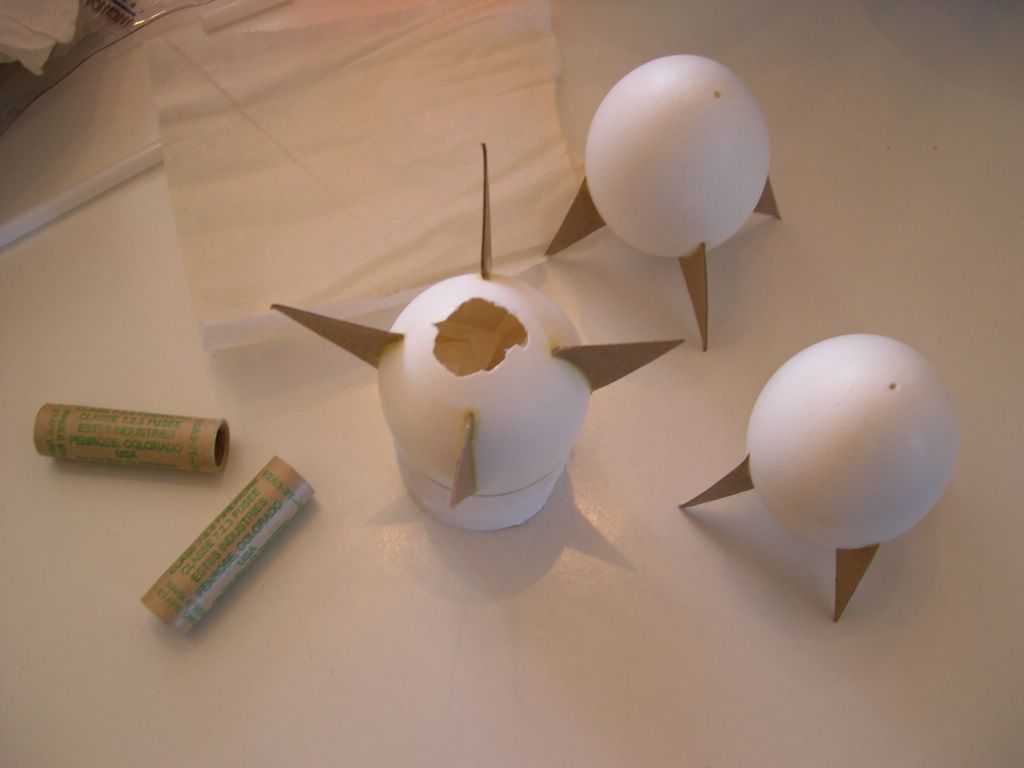
Step 4: Using as little carpenter's glue as possible, glue on your fins. Since I could not think of a better way to do it, I just lined them all up visually. Once the glue has dried for 15 minutes or more, use your finger to smooth on a reinforcing layer of glue down both sides of each fin. Then, let everything dry for at least two hours.

Three egg rockets with freshly glued fins
Step 5: Put a wad of recovery wadding into the nose of the egg rocket. This serves as a cushion and stabilizer for the engine. You need enough wadding so that the end of the engine will remain 1 to 2 mm outside of the egg when firmly pressed into the wadding cushion.
One egg rocket with a wad of recovery wadding inside
Step 6: Insert the engine and make sure that it is stable inside the egg rocket. The end of the engine should remain 1 to 2 mm outside of the egg when firmly pressed into the wadding cushion. If necessary, add or remove some wadding.

One egg rocket with the engine inserted
Step 7: Cut the bottom off of your launch tube so that it is open at both ends. Also cut off any lip on either end that a rocket could catch onto. I also glued a plastic straw unto the side of the tube so that I could attach the tube to the rod on my standard model rock launch pad. However, everything will probably work fine if you simply launch with the tube standing upright on the ground stabilized by a few rocks.

Three unpainted egg rockets ready to go along with their launch tube
Step 8: Decorate your egg rockets! This is an Easter activity after all.
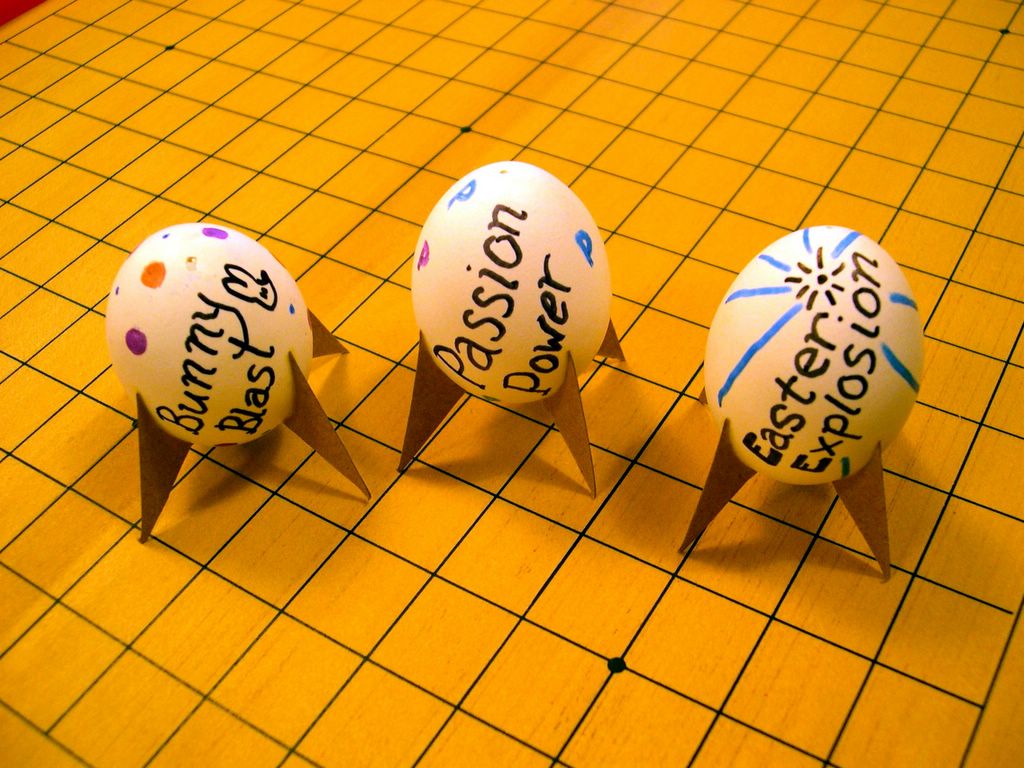
Three decorated, and seasonally named, egg rockets ready for launch
Step 9: Prep and launch from inside the launch tube as you would prep and launch any model rocket (see NAR for more information).
So, what happened when I launched them? Watch for an upcoming post to find out (see launch day).


No comments:
Post a Comment